
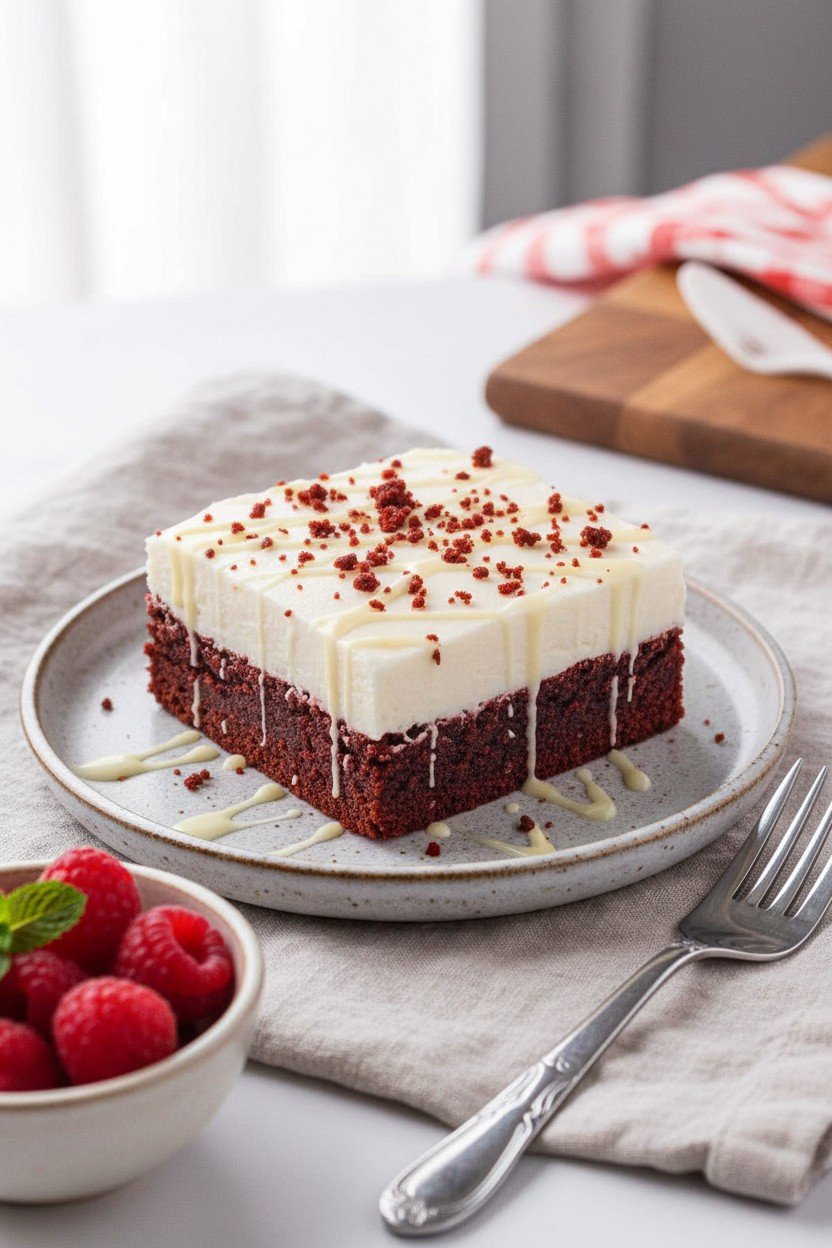
Hey y’all! If you’re looking for a treat that’s as gorgeous as it is delicious, these Red Velvet brownies dippers are about to become your new go-to dessert. They’re chewy, vibrant red, and have that signature hint of cocoa – perfect for dipping into chocolate, cream, or just devouring as-is! Whether you’re hosting a party, prepping for a holiday, or just want a sweet snack to brighten up your day, these brownie dippers hit all the marks. Let’s get cooking!
Why You’ll Love This
- Super easy to make with everyday pantry ingredients.
- Crowd-pleaser for parties, holidays, and get-togethers.
- Irresistibly chewy texture with a rich cocoa flavor.
- Perfect for dipping in chocolate, milk, or cream cheese dip.
- Stunning red color makes them a fun (and photogenic!) treat for any table.
Ingredients
- 1 cup (2 sticks) unsalted butter, melted and slightly cooled
- 2 cups granulated sugar
- 4 large eggs, room temperature
- 2 teaspoons vanilla extract
- 1 tablespoon red food coloring (liquid or gel)
- ¼ cup unsweetened natural cocoa powder
- ½ teaspoon salt
- 1 ½ cups all-purpose flour
- 1 cup mini chocolate chips (optional, for extra chocolatey goodness)
- White chocolate, melted (for drizzling or dipping – optional)
Directions
Step 1: Preheat and Prepare Pan
Preheat your oven to 350°F (175°C). Line a 9x13-inch baking pan with parchment paper, leaving an overhang on the sides for easy removal. Lightly grease the parchment.
Step 2: Mix Wet Ingredients
In a large mixing bowl, whisk together melted butter and sugar until well combined. Add eggs one at a time, whisking well after each addition. Stir in vanilla extract and red food coloring until the mixture is evenly red.
Step 3: Add Dry Ingredients
Sift in the cocoa powder, salt, and all-purpose flour. Gently fold until just combined – don’t overmix! Add mini chocolate chips if using, folding them in gently.
Step 4: Bake
Spread the thick batter evenly into your prepared pan. Bake for 28–32 minutes, or until a toothpick inserted into the center has a few moist crumbs attached. Don’t overbake to keep them chewy.
Step 5: Cool and Slice
Let brownies cool completely in the pan on a wire rack. Use the parchment overhang to lift them out, then cut into long strips or “dippers” about ½ to 1 inch wide and 3 inches long.
Step 6: Decorate (Optional)
Drizzle with melted white chocolate or dip one end into white chocolate for an extra pop. Allow chocolate to set before serving.
Notes
- Make sure not to overbake the brownies to maintain that fudgy texture.
- For cleaner cuts, refrigerate the brownies for 30 minutes before slicing into dippers.
- Use gel food coloring for the brightest red shade without adding too much liquid.
Variations
- Gluten-Free: Use a 1:1 gluten-free all-purpose flour blend in place of regular flour.
- Nutty Twist: Fold in a half-cup chopped pecans or walnuts for crunch.
- Double Chocolate: Dip dippers in melted dark chocolate instead of white for a more decadent finish.
Required Equipment
- 9x13-inch baking pan
- Parchment paper
- Mixing bowls
- Whisk and rubber spatula
- Measuring cups and spoons
- Wire rack (for cooling)
- Knife for slicing dippers
Storage Instructions
Store Red Velvet brownies dippers in an airtight container at room temperature for up to 4 days. For longer freshness, refrigerate for up to 1 week. Freeze brownie dippers (without chocolate drizzle) in a zip-top bag for up to 2 months. Thaw at room temperature before serving.
Suggested Pairings & Serving Recommendations
- Serve with a bowl of cream cheese frosting dip or chocolate ganache for dunking.
- Pair with a glass of cold milk or a hot cup of coffee.
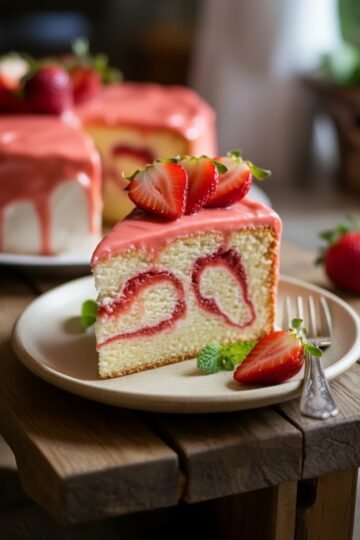
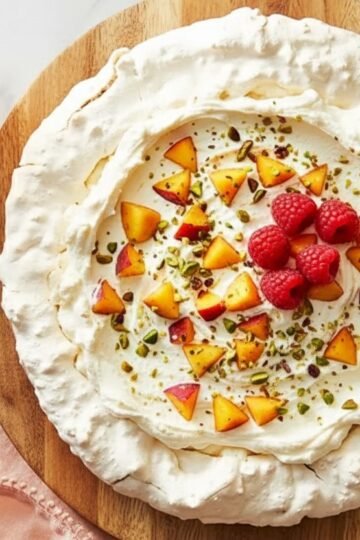
- Add to a dessert board alongside fresh berries for a colorful presentation.
Pro Tips
- Sift the cocoa powder for a lump-free, smooth batter.
- Wipe your knife clean between cuts for neat, bakery-style dippers.
- If drizzling with chocolate, let the brownies cool completely so the chocolate sets nicely.
FAQ
- Can I make these brownies ahead of time? Absolutely! They store well in an airtight container at room temperature or in the fridge, making them perfect for parties or gifting.
- My brownies turned out dry – what went wrong? They may have been overbaked; check with a toothpick a few minutes early to ensure they remain chewy.
- Can I use natural or Dutch-process cocoa powder? Natural cocoa provides classic red velvet flavor, but Dutch-process works too – just note the color may be deeper.
Prep Time: 15 minutes
Bake Time: 28–32 minutes
Total Time: 45 minutes
Ingredients
- 1 cup (2 sticks) unsalted butter, melted and slightly cooled
- 2 cups granulated sugar
- 4 large eggs, room temperature
- 2 teaspoons vanilla extract
- 1 tablespoon red food coloring (liquid or gel)
- ¼ cup unsweetened natural cocoa powder
- ½ teaspoon salt
- 1 ½ cups all-purpose flour
- 1 cup mini chocolate chips (optional, for extra chocolatey goodness)
- White chocolate, melted (for drizzling or dipping – optional)
Instructions
-
1Preheat your oven to 350°F (175°C). Line a 9x13-inch baking pan with parchment paper, leaving an overhang on the sides for easy removal. Lightly grease the parchment.
-
2In a large mixing bowl, whisk together melted butter and sugar until well combined. Add eggs one at a time, whisking well after each addition. Stir in vanilla extract and red food coloring until the mixture is evenly red.
-
3Sift in the cocoa powder, salt, and all-purpose flour. Gently fold until just combined – don’t overmix! Add mini chocolate chips if using, folding them in gently.
-
4Spread the thick batter evenly into your prepared pan. Bake for 28–32 minutes, or until a toothpick inserted into the center has a few moist crumbs attached. Don’t overbake to keep them chewy.
-
5Let brownies cool completely in the pan on a wire rack. Use the parchment overhang to lift them out, then cut into long strips or “dippers” about ½ to 1 inch wide and 3 inches long.
-
6Drizzle with melted white chocolate or dip one end into white chocolate for an extra pop. Allow chocolate to set before serving.
Approximate Information for One Serving
Nutrition Disclaimers
Number of total servings shown is approximate. Actual number of servings will depend on your preferred portion sizes.
Nutritional values shown are general guidelines and reflect information for 1 serving using the ingredients listed, not including any optional ingredients. Actual macros may vary slightly depending on specific brands and types of ingredients used.
To determine the weight of one serving, prepare the recipe as instructed. Weigh the finished recipe, then divide the weight of the finished recipe (not including the weight of the container the food is in) by the desired number of servings. Result will be the weight of one serving.
Did you make this recipe?
Please consider Pinning it!


Leave a Reply