
Hey y'all! If you're searching for a show-stopping treat that's meltingly creamy, delightfully sweet, and downright irresistible, you're going to love this Sugar Cookie Cheesecake Dessert. With a buttery sugar cookie base, a luscious cheesecake layer, and a sprinkle of fun, it's perfect for birthdays, holidays, or any time you want to spark some joy with dessert. Let's get cooking!
Why You'll Love This
- Combines the best of two classic desserts—creamy cheesecake and soft-baked sugar cookies—in one easy bake.
- Requires simple ingredients with minimal prep—no water bath or complicated steps!
- Perfectly portable for potlucks, family gatherings, or weeknight cravings.
- Customizable with sprinkles, fruit, or your favorite toppings for any season or occasion.
- Cuts cleanly into bars, making serving a breeze for parties.
Ingredients
- 1 (16.5 oz) roll refrigerated sugar cookie dough
- 2 (8 oz) packages cream cheese, softened
- ½ cup granulated sugar
- 1 teaspoon vanilla extract
- 2 large eggs
- ¼ cup sour cream
- ½ cup rainbow sprinkles (optional for topping)
Directions
Step 1: Prep and Preheat
Preheat your oven to 350°F (175°C). Lightly grease a 9x13-inch baking pan or line it with parchment paper for easy removal.
Step 2: Make the Sugar Cookie Base
Press the refrigerated sugar cookie dough evenly into the bottom of the prepared pan, making sure it reaches all corners and edges. Bake for 10-12 minutes, until the edges are just beginning to set but not browned. Remove from the oven and allow to cool slightly (about 10 minutes).
Step 3: Prepare the Cheesecake Layer
In a large mixing bowl, beat the softened cream cheese and granulated sugar with an electric mixer until creamy and smooth. Add vanilla extract, then beat in the eggs one at a time. Mix in the sour cream just until everything is well combined.
Step 4: Assemble and Bake
Pour the cheesecake filling over the cooled sugar cookie crust. Use a spatula to spread the filling evenly to the edges. Bake for 28-32 minutes, or until the center is set and just slightly jiggly. Let cool to room temperature, then chill in the refrigerator for at least 3 hours (or overnight) before cutting.
Step 5: Decorate and Serve
Once fully chilled, top with rainbow sprinkles if desired. Cut into squares and serve chilled for the ultimate creamy-crunchy combo!
Notes
- For the smoothest cheesecake, ensure cream cheese is fully softened before beating.
- Don't overbake; cheesecake should have a slight jiggle in the center when done.
- Lining the pan with parchment makes removing and slicing bars much easier.
Variations
- Chocolate Chip: Use chocolate chip cookie dough for the base and top with mini chocolate chips.
- Berry Swirl: Swirl ¼ cup raspberry jam into the cheesecake layer before baking.
- Lemon Zest: Add 1 tablespoon of lemon zest to the cheesecake mixture for a citrusy twist.
Required Equipment
- 9x13-inch baking pan
- Electric hand or stand mixer
- Mixing bowls
- Spatula
- Parchment paper (optional)
Storage Instructions
- Store leftover bars covered in the refrigerator for up to 5 days.
- For longer storage, wrap bars individually and freeze for up to 2 months. Thaw overnight in the fridge before serving.
Suggested Pairings & Serving Recommendations
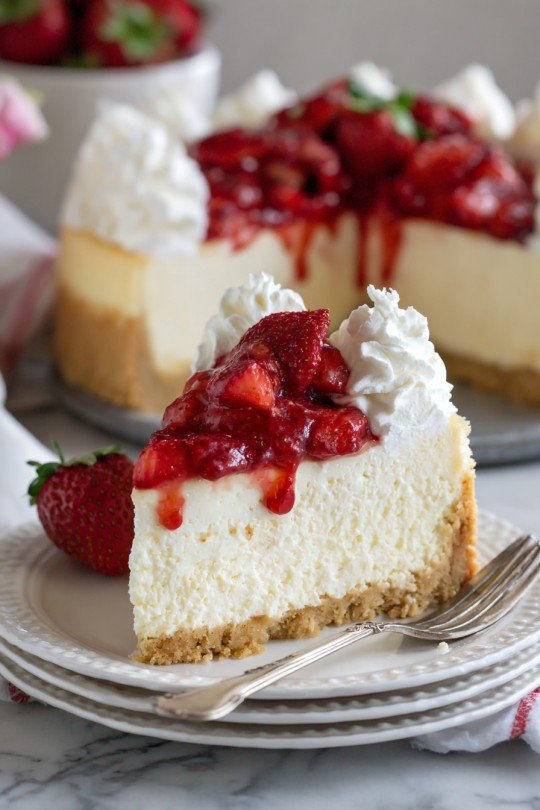
- Serve with fresh strawberries or raspberries for a fruity contrast.
- Add a dollop of whipped cream for extra indulgence.
- Pair with a mug of hot coffee or vanilla chai for a cozy dessert moment.
Pro Tips
- Allow the cheesecake dessert to chill overnight for the cleanest slices and firmest texture.
- Use parchment overhang as handles to lift the bars out for easy cutting.
- For party presentation, cut bars into bite-sized squares and arrange on a platter with extra sprinkles.
FAQ
- Can I use homemade sugar cookie dough?
Absolutely! Replace the store-bought dough with your favorite homemade sugar cookie dough recipe for a personal touch. - Do I need to let the bars cool completely before chilling?
Yes, allowing them to cool to room temperature prevents condensation and keeps the crust from getting soggy. - Can I make this dessert ahead of time?
Definitely! It tastes best when chilled at least 3 hours or overnight, so it’s a great make-ahead recipe for parties.
Ingredients
- 1 (16.5 oz) roll refrigerated sugar cookie dough
- 2 (8 oz) packages cream cheese, softened
- ½ cup granulated sugar
- 1 teaspoon vanilla extract
- 2 large eggs
- ¼ cup sour cream
- ½ cup rainbow sprinkles (optional for topping)
Instructions
-
1Preheat your oven to 350°F (175°C). Lightly grease a 9x13-inch baking pan or line it with parchment paper for easy removal.
-
2Press the refrigerated sugar cookie dough evenly into the bottom of the prepared pan, making sure it reaches all corners and edges. Bake for 10-12 minutes, until the edges are just beginning to set but not browned. Remove from the oven and allow to cool slightly (about 10 minutes).
-
3In a large mixing bowl, beat the softened cream cheese and granulated sugar with an electric mixer until creamy and smooth. Add vanilla extract, then beat in the eggs one at a time. Mix in the sour cream just until everything is well combined.
-
4Pour the cheesecake filling over the cooled sugar cookie crust. Use a spatula to spread the filling evenly to the edges. Bake for 28-32 minutes, or until the center is set and just slightly jiggly. Let cool to room temperature, then chill in the refrigerator for at least 3 hours (or overnight) before cutting.
-
5Once fully chilled, top with rainbow sprinkles if desired. Cut into squares and serve chilled for the ultimate creamy-crunchy combo!
Approximate Information for One Serving
Nutrition Disclaimers
Number of total servings shown is approximate. Actual number of servings will depend on your preferred portion sizes.
Nutritional values shown are general guidelines and reflect information for 1 serving using the ingredients listed, not including any optional ingredients. Actual macros may vary slightly depending on specific brands and types of ingredients used.
To determine the weight of one serving, prepare the recipe as instructed. Weigh the finished recipe, then divide the weight of the finished recipe (not including the weight of the container the food is in) by the desired number of servings. Result will be the weight of one serving.
Did you make this recipe?
Please consider Pinning it!

Leave a Reply